

How To Add Collections In Shopify
What is the collection in Shopify?
Shopify collections are groupings of products you can set up, to make it easier for your customers to browse all products within a certain category. For example, a fashion merchant might set up a collection of men’s summer collections.
In Our Previous blog, we’ve described how to add products in Shopify?
How To Create Collection In Shopify?
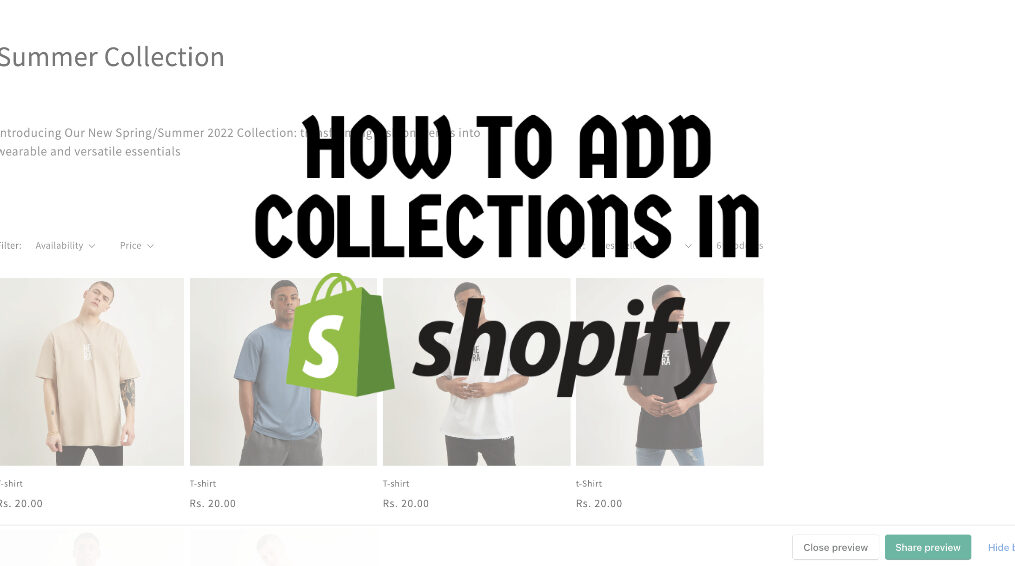
Let’s have a look at the how-to add collections step-by-step.
Login or Signup into your Shopify partner account

Click on Products.
After clicking on Products, Sub-menu is opened.
Click on “Collections”.

After Clicking on Collections, you’ll be redirected to the collection page.
If you want to make it a New collection then click on “Create Collection” that displayed on the right top of the collection page.

After clicking “Create Collection”.
You have to fill in the demandable information.
Let’s take an example: Suppose Firstly you have to fill title and description of the collection which is highlighted in the below image.

After that, You have to upload the collection image and select the collection availability.

There’re two types of collection.
1. Manual
2. Automated
If you select the manual collection type, You can choose selected products from your product list and you will not apply any conditions on that collection.

If you select the Automated Collection type, You can add Product match conditions to it.
Let’s take an example, We’ve taken the conditions on price which displays in the below image.
This condition works in that collection. When you’ll redirect on front-end, choose that collection and you will see the products which is more than 500INR.

You will also see the “Search engine listing preview” and ” “Edit Website SEO” – links.
Click on Edit Website SEO – Fill in the Details such as Page Title, Meta Description, and URL Handle as per your product basis.

Moreover, After that, you have to save that collection.
Then you can see the Product selection section.
Click on the Browse button.

After clicking on the browse button, You can see the popup window on your screen.
This popup window displayed your entire store products.
Select the multiple products that you need to add to your collection and click on the “Done” button.
It’ll be auto saved.

Go to the top of the collection page.
Click on the “View” button that’s displayed on the right-top of the page.

After clicking on “View” button.
You’ll be redirected on Front-end side.
But that demands the Store password.
Ohhh!!!
You didn’t know where password has been shown.
Keep reading..

Go to the Online store.
Click on it & See the drop-down menu.
Select the “Preferences”.

After Selecting the preferences, Many sections are displayed in that section.
Moving the mouse and stop at “Password Protection”.
You’ll see your Store Password.

After entering your store password, You’ll see your created collection’s Front-end.
You can see your Collection and Its details which you have filled during the creation of the collection.

Conclusion
With the help of this blog, you should be able to create and manage Shopify collections. Once you’re done, you can look at the Shopify theme customization to make your store more stunning and enhance the user’s shopping experience. Of course, the store with such product features also has a good hosting partner Like Shopify Cloud.
Born Techies –Digital Commerce agency offers Shopify, Shopware, Magento, and Bigcommerce development with the latest technologies.
Do you want to receive a free consultation about how to optimize your store and generate more sales? Reach us out at [email protected] or contact us, and we will be more than happy to help you out.