

How to add and customize themes in Shopify?
What are the themes in Shopify?
Shopify Themes are the templates our merchants use on their ecommerce stores. Every month thousands of business owners download these templates — many of which are created by our partner community. You can rely on our blog for frequent posts about how to design themes and get them listed in the Shopify Theme Store.
How to customize Themes in Shopify?
Let’s have a look at the how-to customize themes step-by-step.
First, you need to log in or sign up for your Shopify partner account.
Go to the Sales channels section.
Click on theme posts.
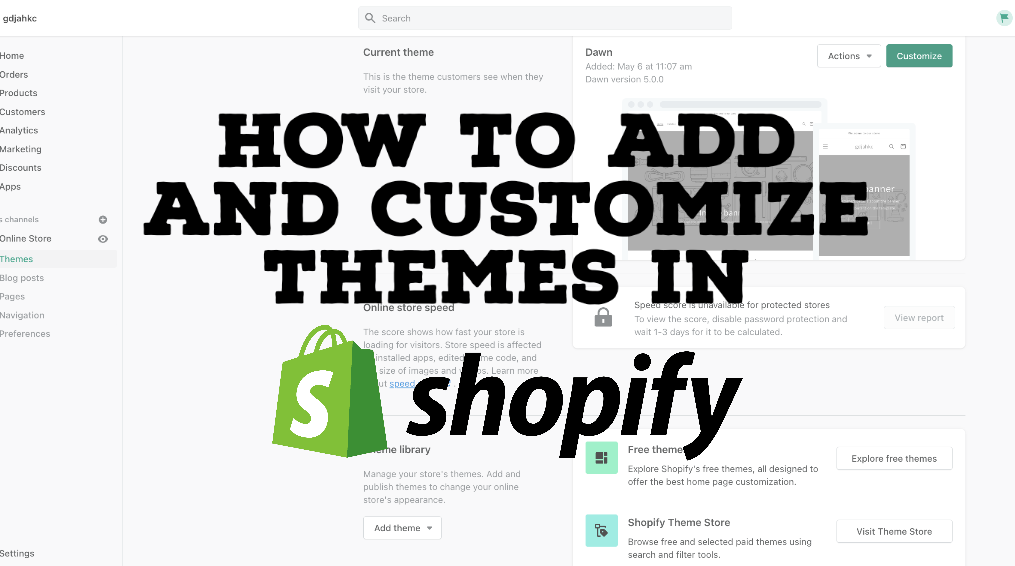
You can see the two buttons on the current theme section which names are “Actions & Customize”.

Now We’ll go through it step by step.
Now click on the “Action” button.
Have you clicked on it?
Ohh, that’s great!
You can see the too many options displayed in the drop-down menu.
1- Preview – After clicking on this button, you can see the preview of your current theme in a new window.
2- Rename – You can change the theme name you want to place by clicking this button.
3- Duplicate – If your store is running successfully and you want to add something new to your store, you can make a duplicate theme using this button, and you can make the changes as per your requirements, and it will not affect your current online store.
4- Download Theme File – Ohhh, it Already clicked! You can download the theme code and files using this button.
5- Edit Code – After clicking on this button, you can edit the code on all pages. You can also modify it and see the changes on the live store.
6- Edit Languages – You can change languages in your texts and store languages using this button.

Now, moving ahead!!!
Click on the “customize” button.
After clicking on this button, You can customize your theme using the drag and drop option.
You can also customize your texts, images, positions, heading size and many more.

Moving forward to the next step!
You can see the last section in the themes section named “Theme Library” which is highlighted in the below image.
There’re two more options available there.
One is Free Themes and the second one is Shopify Theme Store.

Let’s go ahead step-by-step.
Click on “Explore Free Themes”.
You can explore the free themes after clicking on this button.
You can select one of those for your store.

Now click on “Shopify Theme Store”.
You can explore the free and paid themes after clicking on this button.
There are too many themes available in that store whatever industries you want.
You can also search for a particular theme.
You can also explore the collections and choose what you want.

Now, Move on to the last step!
Go to the “Theme Library” Section.
Click on the “Add Theme” Option.
You can see the two options after clicking on the “Add theme” button.
1- Upload Zip File – If you’ve made custom theme for your eCommerce store, You can upload the Zip file from that option.
2- Connect from Github – If you’ve theme and it’s on Github then you can connect the Github with your store. After that you can add and run your theme.

Conclusion
With the help of this blog, you should be able to create and manage Shopify themes. Once you’re done, you can look at the Shopify theme customization to make your store more stunning and enhance the user’s shopping experience. Of course, the store with such product features also has a good hosting partner Like Shopify Cloud.
Born Techies –Digital Commerce agency offers Shopify, Shopware, Magento, and Bigcommerce development with the latest technologies.
Do you want to receive a free consultation about how to optimize your store and generate more sales? Reach us out at [email protected] or contact us, and we will be more than happy to help you out.